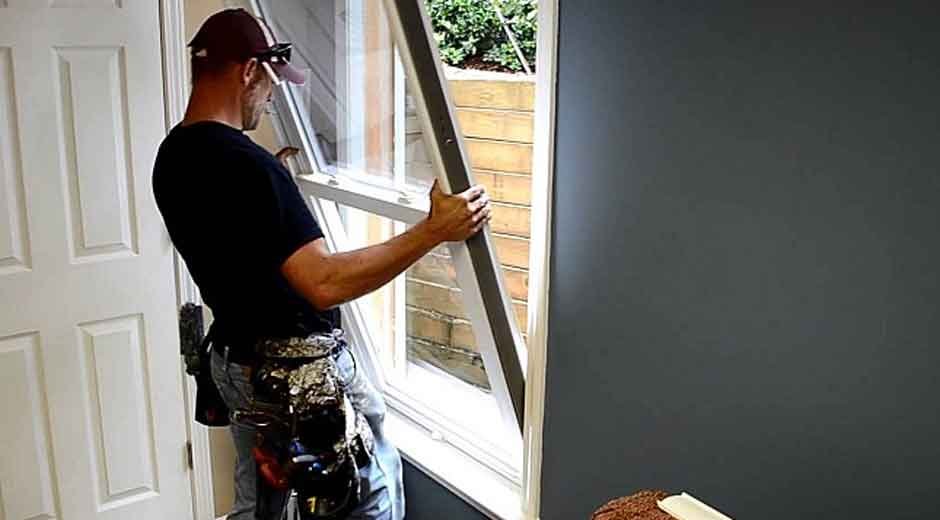
Professionals replace windows to improve energy efficiency, functionality, or update the appearance of a home. Preparation before installation can minimize disruptions and enable the installation team to work effectively. Advance planning also helps protect your interior and prevents unwarranted delays. Here are a few tips that you can follow when preparing your home for window replacement:
Table of Contents
Remove Window Coverings and Hardware
Remove all coverings and hardware from the windows before the installation process begins. This may involve removing curtains, blinds, shades, valances, and any rods or brackets that are mounted on the wall or frame. These items can obstruct access to the window opening and the surrounding trim, making it more difficult for the installers to measure and fit the replacement unit accurately. If you use motorized window treatments, such as automatic roller shades or smart blinds, verify that you power them off and disconnect them beforehand. Not only does this prevent possible damage to the devices, but it also makes sure that electrical components do not disrupt the installation process.
After all this is taken out, the entire frame is exposed, allowing for a smooth transition to the new window. Inspect the exposed frame for signs of damage, such as cracks or warped wood. Cosmetic problems can be addressed later, but structural issues must be identified early. Once the window area is completely cleared and accessible, the window replacement team can begin work immediately without needing to move or disconnect any on-site equipment.
Clear Sills and Surrounding Surfaces
Before the installers arrive, verify that the space around your windows is clear of any objects. This includes plants, picture frames, candles, books, and ornamental items. Besides clearing the items, take a moment to rearrange any furniture or large objects in the installation area. Tables, sofas, and shelving units that are near the window should be moved a few feet away. This provides additional space for ladders, tools, and installer movement, minimizing the risk of damaging your belongings. After you clear the area, the installation crew can lay down drop cloths or dust barriers to protect your flooring and furniture. An open workspace enables the team to work faster and prevents interruptions that delay the job.
Unlock and Test Each Window
Test all windows to make sure they open and close properly, a few days before installation. Make sure that the sash moves or swings as intended and that any locking devices are unlocked. Wrapped tracks, paint, or seasonal expansion might result in older windows getting stuck. If the window is not opening easily, a utility blade can be used to loosen any sealed edges. Even though the old windows are being removed, a stuck or sealed sash can complicate the extraction process. A professional window replacement team will handle the removal carefully and efficiently.
Choose the Right Window Style
Various window types require different installation approaches, and the one you use affects both the interior and exterior finishes. Identify how the frame depth, size, and opening mechanism will work with the existing structure of your house. Replacing a sliding window with a casement model alters the window’s operation and may require additional interior trimming. It may also necessitate adjustments to the exterior opening. Larger or bulkier frames may also require additional clearance to swing open, mainly when there are shutters, overhangs, or nearby landscaping on the outside.
Work With a Window Replacement Company Today
When you work with a team of experts in window replacement, the entire process is more structured. These experts advise you on what should be cleared, adjusted, or temporarily disconnected to prepare your space. If you’re planning to replace your home windows, search for a reputable window installation company in your area.
